–
–
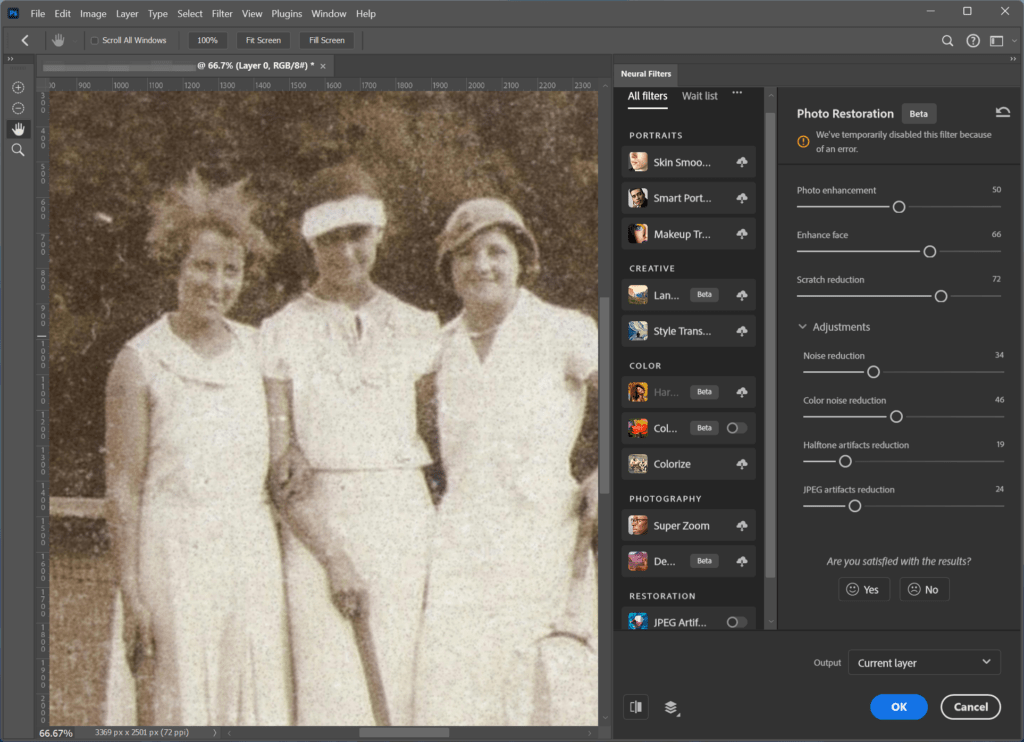
Method 1 – Restore with Photoshop
–
1. Import your scanned photo into Photoshop
2. Use Photo Restoration Filter
3. Fix scratches and stains
4. Colorize photo
–
Pros & Cons
–
👍Pros
- Allows detailed and customized editing
- Integrates with other photo editing needs
👎Cons
- Expensive subscription
- Complex process and time-consuming
- Hardware demanding
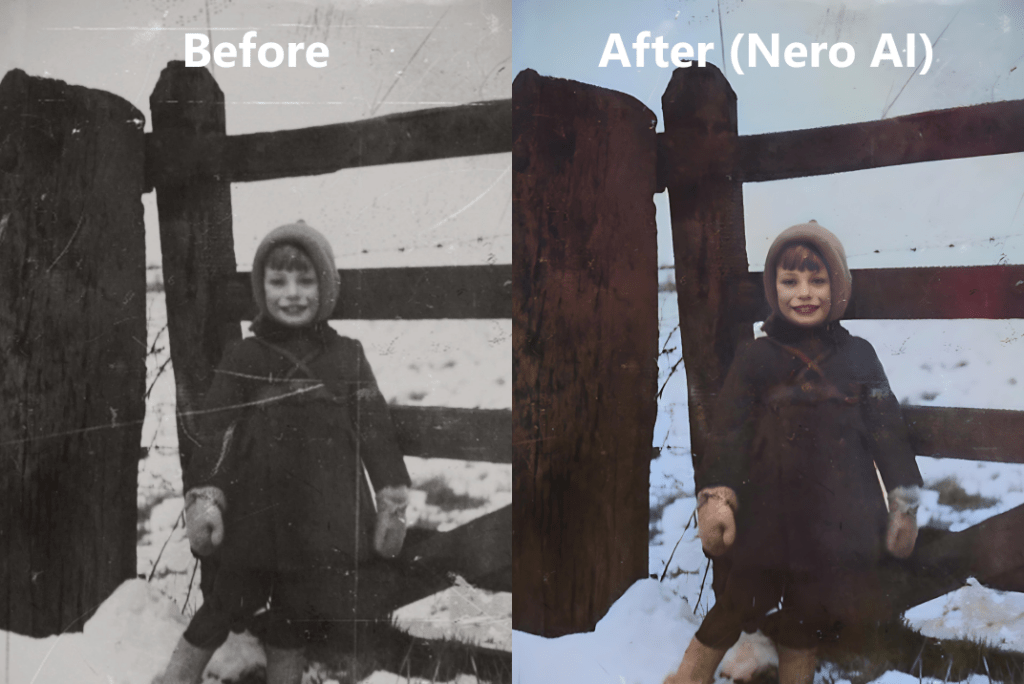
Method 2 – Restore Online with Nero AI
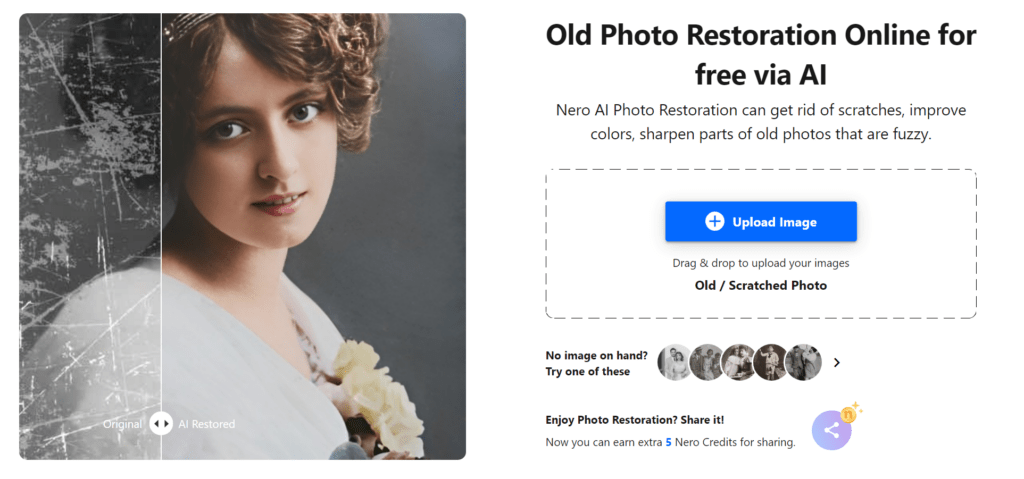
1. Go to the Nero AI website
Simply click this link once you have your old photos on your computer.
Hint: Don’t just stop at restoration. Explore more AI services like image upscaler and avatar generation!
–
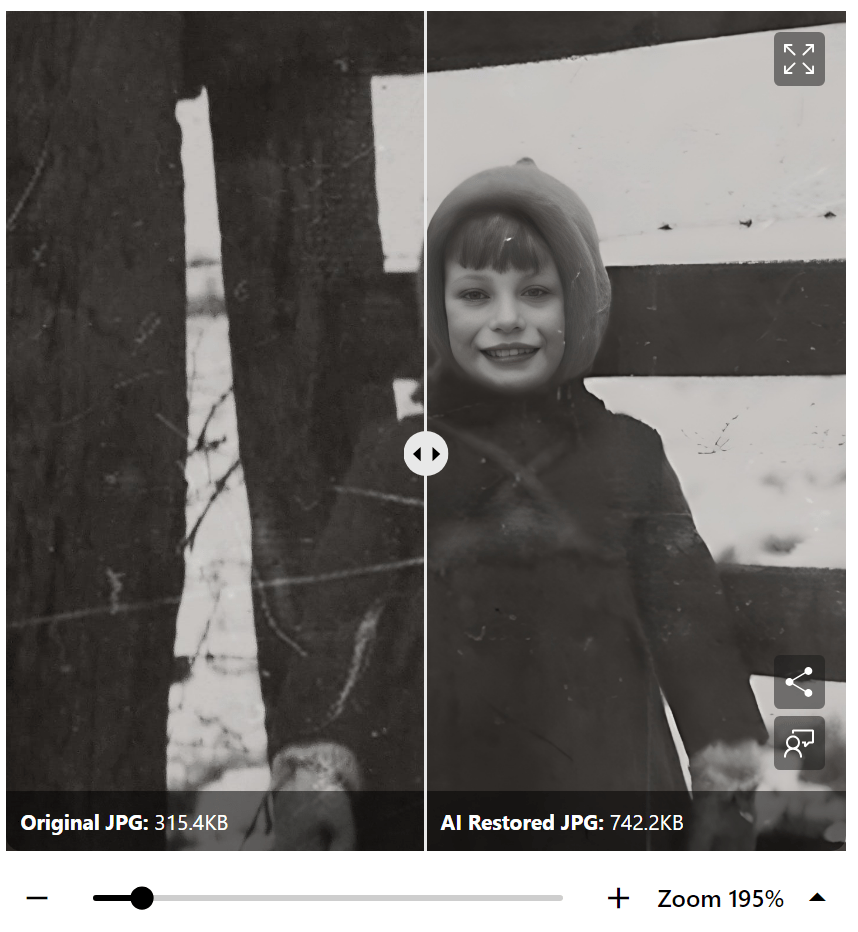
2. Upload your scanned photo, choose the AI effects according to your needs
Once you’ve uploaded your photo, you’ll see 3 AI effects: Scratch Fix, Colorize, and Face Enhancement. Simply select the one(s) you’d like to apply, then click Start.

🔍 What do these AI effects do?
1. Scratch Fix:
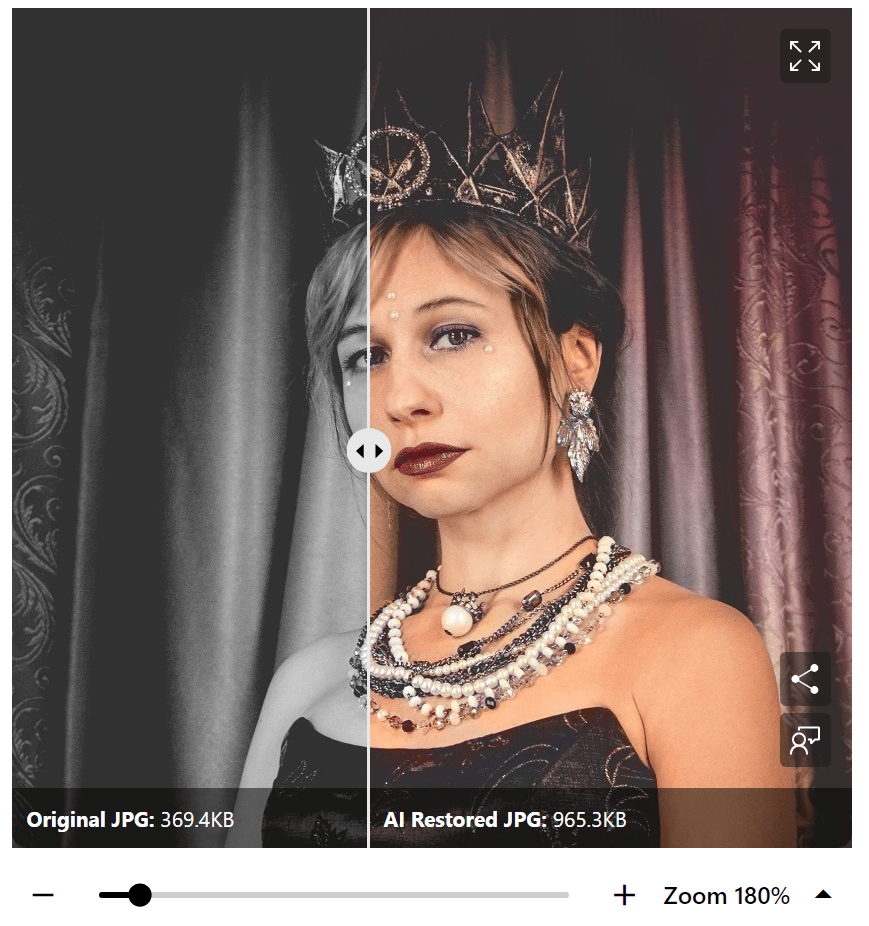
2. Colorize:
–
3. Face Enhancement:
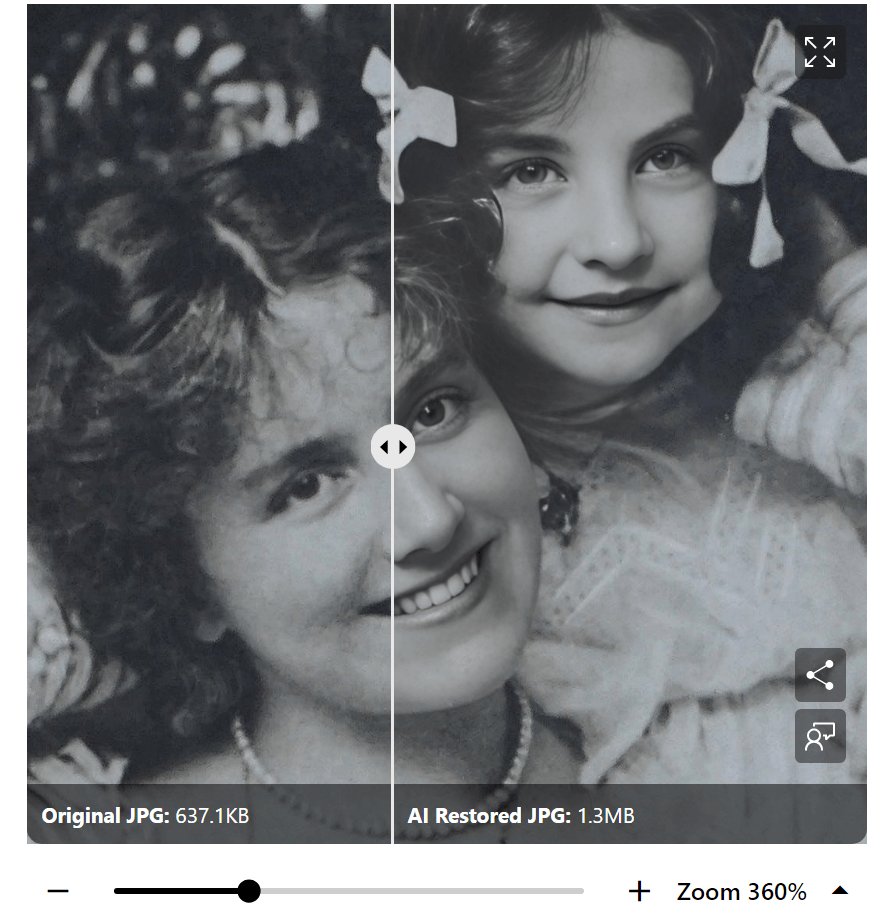
4. Fix scratches manually
5. Export
–
Pros & Cons
–
👍Pros
- Affordable subscription, free chances available
- Quick and simple process: apply multiple effects at one time
- Integrate with other AI photo editing tools
- No hardware requirement
👎Cons
- Results might vary due to the uncertainty of the AI algorithm
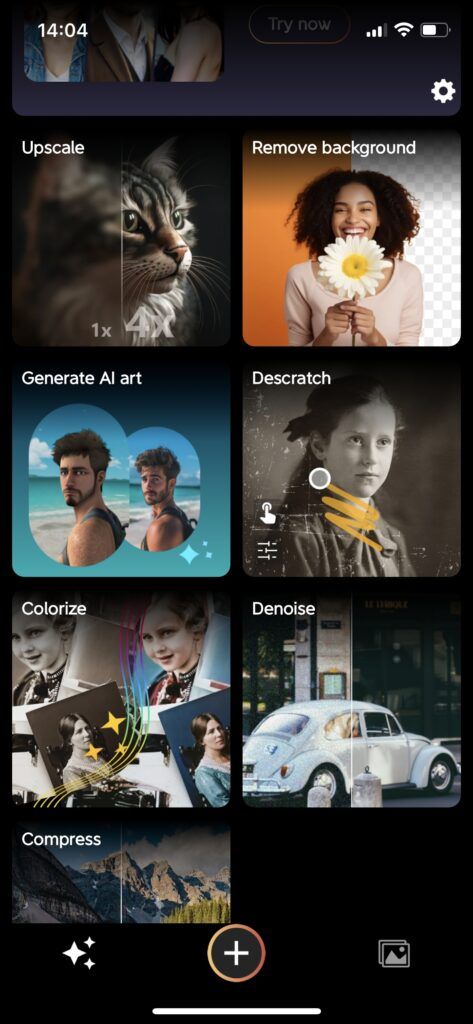
Method 3 – Restore on Mobile Phone with Nero Lens
1. Save your photos in your phone gallery, download Nero Lens
Be sure to save your photo(s) on your phone by scanning or taking a picture of them beforehand.
Then, download Nero Lens from your app store. Nero Lens is available on both iOS and Android devices.
–
 >>Download Now<<
–
–
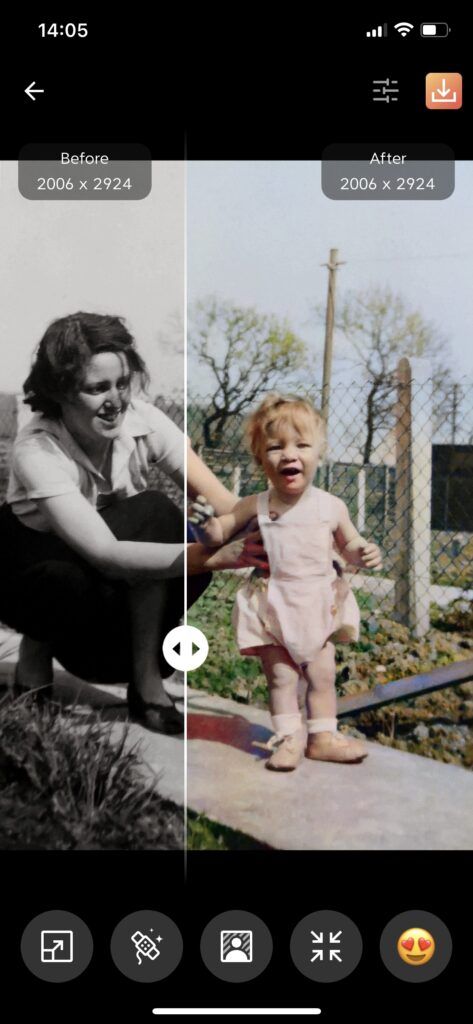
2. Choose the Descratch effect on Nero Lens
Open Nero Lens and swipe down to see the AI services vault. Go to Descratch – auto-fix the scratches and stains on your photo.
–
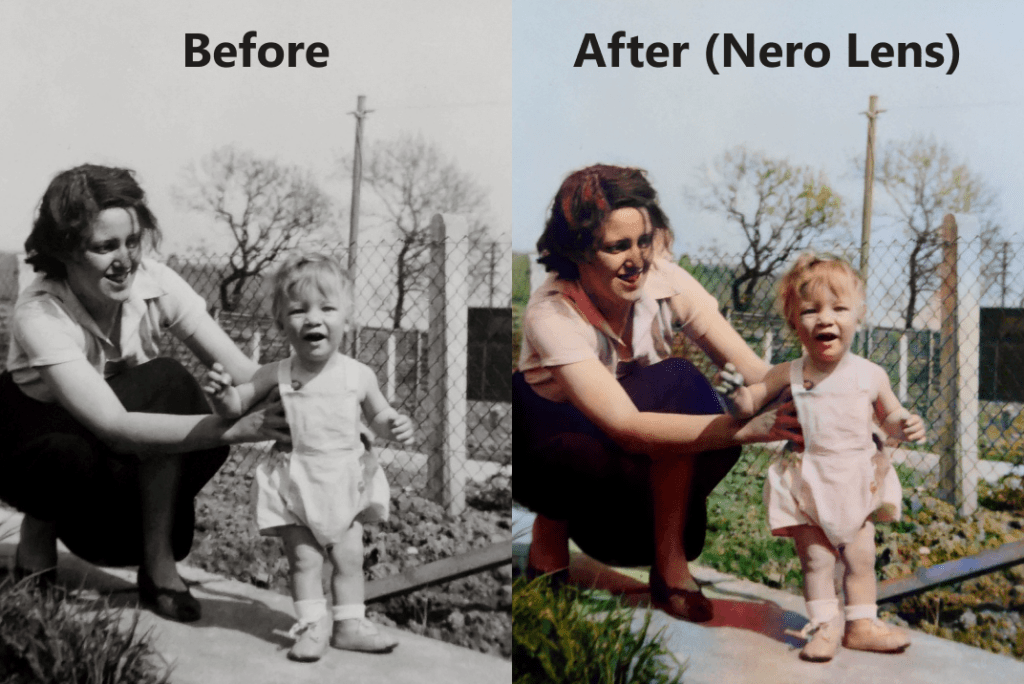
3. Choose the Colorize effect on Nero Lens
Save your resulting photo from the Descratch effect, then return to the Nero Lens homepage. Swipe down to locate the Colorize effect if you wish to apply colors.
–
4. Save your photo
You can save your restored photos or share them with your family now!
–
–
Pros & Cons
–
👍Pros
- Affordable subscription, free trial available
- Quick and simple process
- Works on mobile phone
- Integrate with other AI photo editing tools
👎Cons
- Need to descratch and colorize separately
- Results might vary due to the uncertainty of the AI algorithm