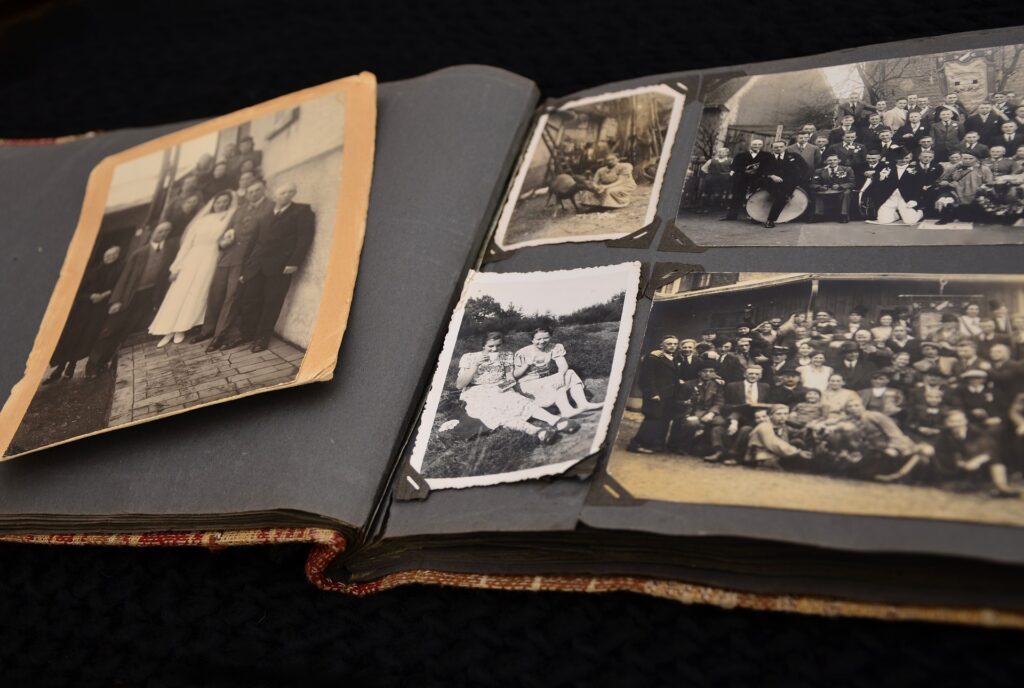
Digitizing old photos preserves memories, protects against loss, and makes it simple to share family history. It saves space, allows for photo restoration, and ensures that timeless memories are accessible to future generations.
1. Scan the photo prints
You will need a scanner to digitize your photo prints. Select a scanner with a high resolution to capture all of the details of your prints. Place the photo prints on the scanner bed and adjust them to ensure they are flat and straight.
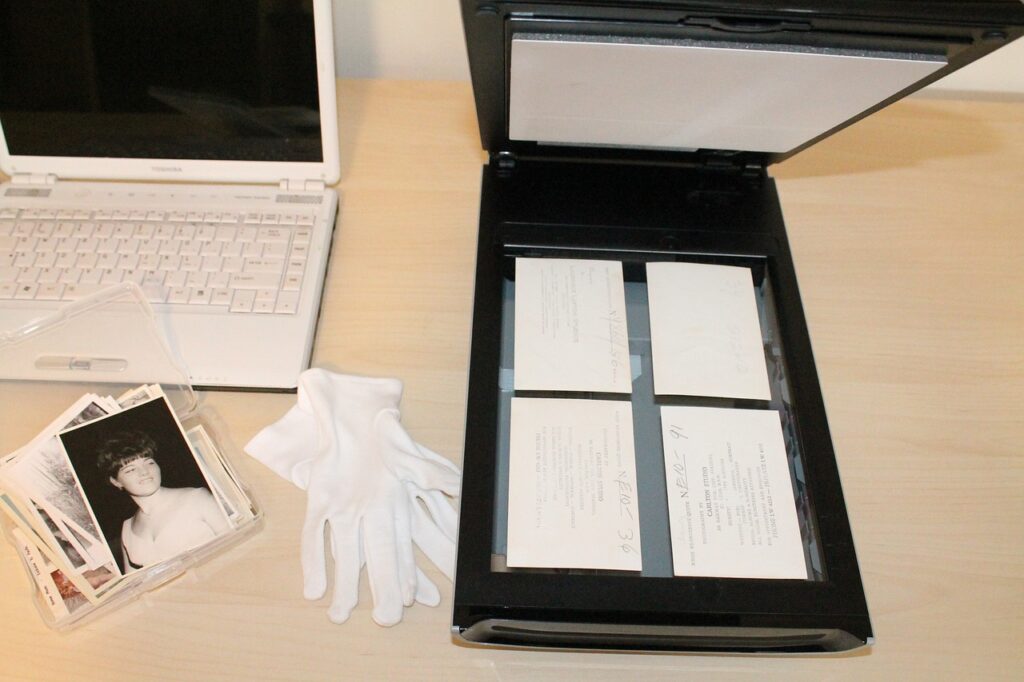
Scan the prints using the scanning software included with your scanner. Save the scanned images in a format compatible with your computer, such as JPEG or TIFF. Organize the digital copies of your photo prints in folders for easy access and backup.
2. Scanning photo prints with a mobile phone
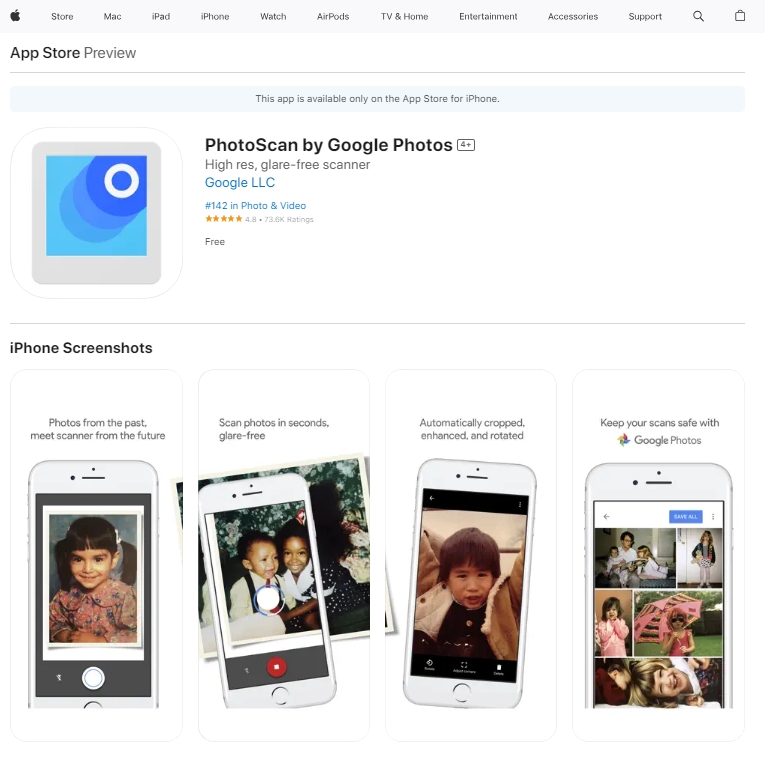
You can use a scanning app on your smartphone to scan photo prints. Scanning apps such as PhotoScan by Google Photos are available for both iOS and Android devices.
Simply install a scanning app from your app store on your phone. Place your photo prints on a flat surface with adequate lighting. Open the scanning app and follow the on-screen instructions to capture the photo prints with your phone’s camera.
For best results, ensure that the prints are properly positioned and that the settings are adjusted. After scanning the prints, save the images on your phone or transfer them to your computer for further organization and backup.
3. Scanning the negative film
A film scanner is required to digitalize your negative films. Select a scanner that is specifically designed to scan negative films. Insert the negative film strip into the scanner and check that it is properly positioned.
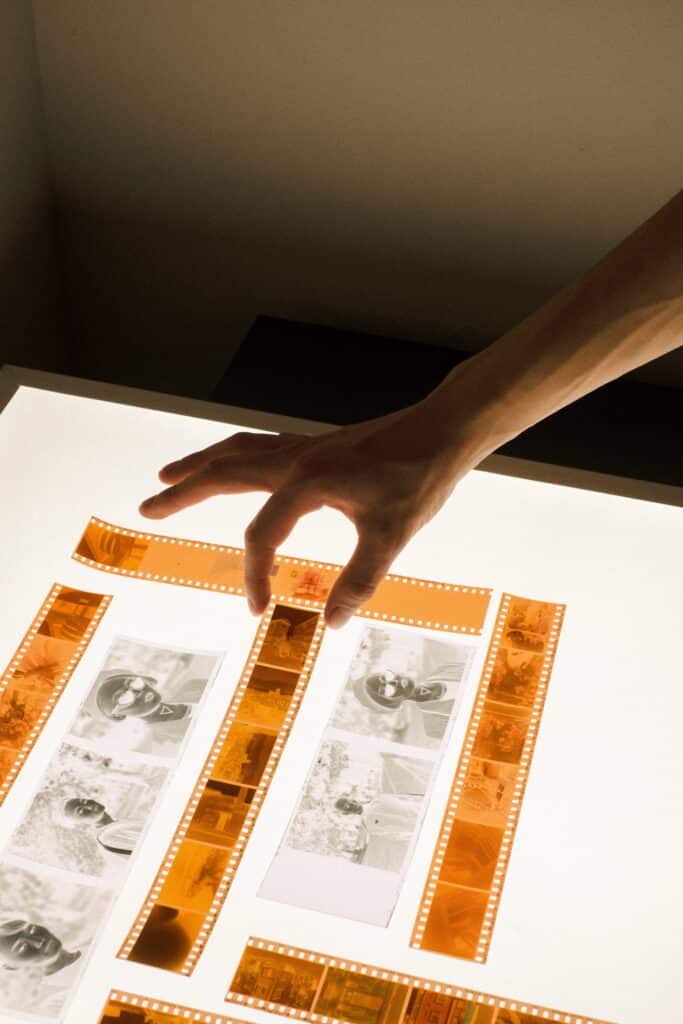
Adjust the scanner settings to match the type of film you’re scanning, such as color negative or black and white. Scan the negative film using the scanning software that came with the scanner.
Save the scanned images in a compatible format, such as JPEG or TIFF. Organize the digital copies of your negative films into folders for easy access and backup.
4. Scanning the negative film with a mobile phone
Although scanning negative films with a mobile phone does not produce the same quality as using a film scanner, it is still possible. To scan negative films with a mobile phone, you’ll need a negative film holder or a specialized attachment for your phone’s camera, such as the KODAK Mobile Film Scanner.

Attach the holder or attachment to your phone and properly position the negative film strip. Open the scanning app on your phone and follow the instructions to capture the negative film with your phone’s camera. Adjust the settings for the best results, and make sure the lighting is adequate.
After scanning the negative film, save the images on your phone or transfer them to your computer for further organization and backup.
5. Using an Online Scanning Service
If you don’t want to invest in a scanner or don’t have access to one, you can use an online scanning service. Many online platforms, such as Mein Film Lab or Legacy Photo Lab, provide scanning services for photo prints and negative films.
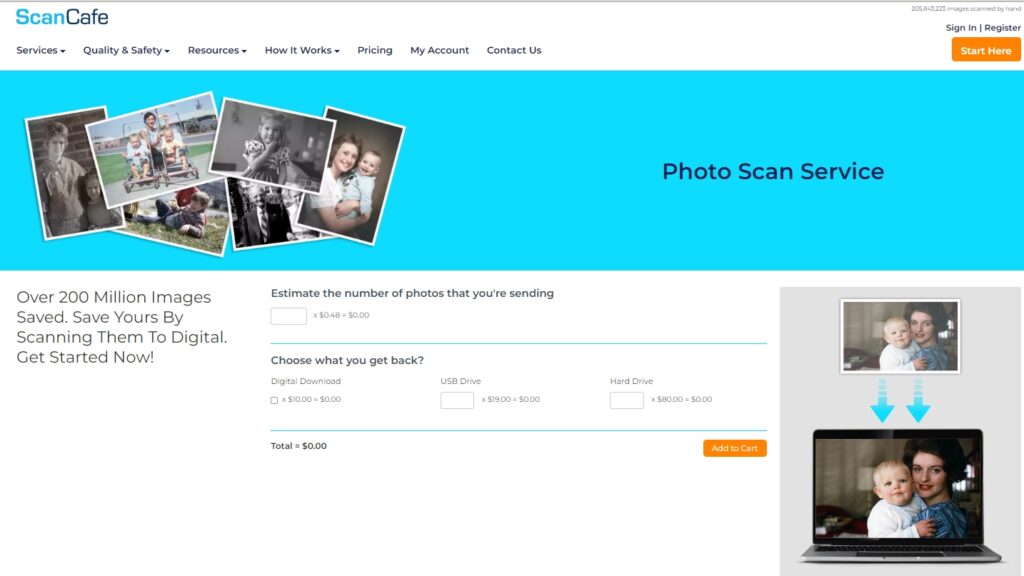
Simply place an order online and send your prints or films to the platform, and they will scan and digitize them for you. These services typically use high-quality scanners and professional technicians to ensure the best results.
When the scanning is finished, you can download the digital copies from the platform. Remember to organize and backup your digital files for future reference.
Revive your Digitized Photo
We have obtained your flawless digitalized photo through the methods described above. We might now go one step further and revive an old photograph.
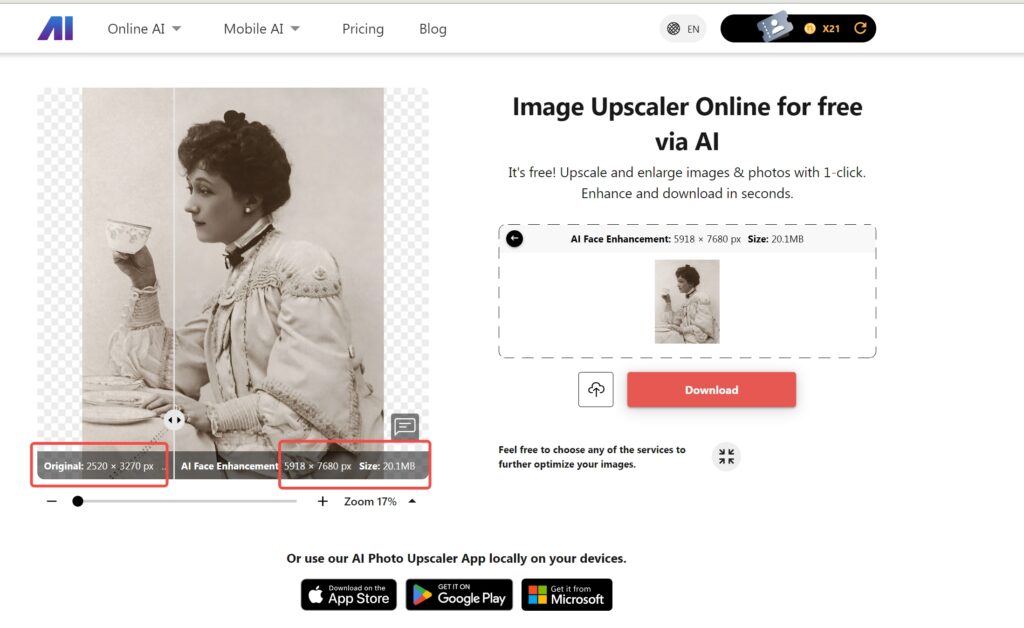
1. Upscale to a Higher Resolution
Higher resolutions provide more detail and make the restoration process more efficient.
2. Replace Missing Parts
If sections of the photo are missing or seriously damaged, you may need to manually restore them with cloning or drawing tools. Patience is essential since this might be a time-consuming operation.
3. Colorize Photo
Colorizing ancient photographs brings history to life, making it more relatable and emotionally impactful. It adds authenticity, maintains family memories, and makes it more accessible to a wider audience.
By adding color, these pictures become a dynamic bridge between the past and the present, building a deeper connection with our heritage and allowing us to interact more meaningfully with the tales they tell.
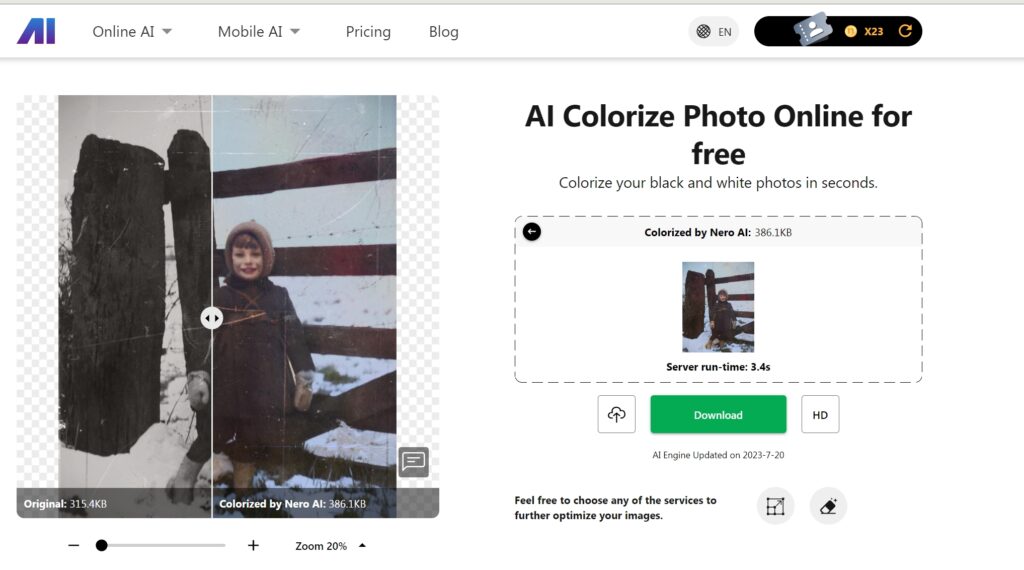
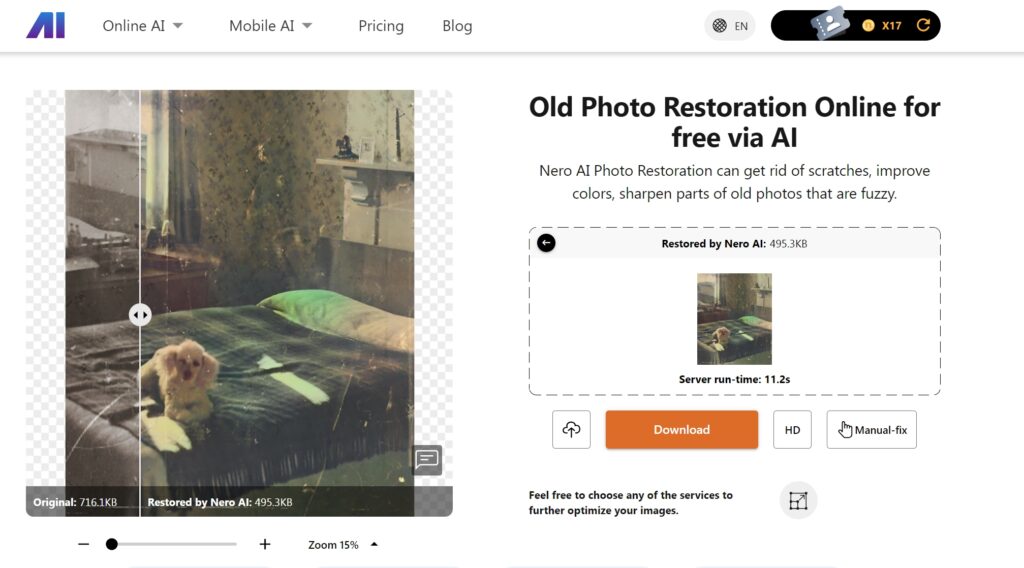
Let’s use Nero AI to bring back more digitized photos. Those memories that fade away will never be forgotten. It’s also a terrific method to recall the good old days.